Mounting your iPad/iPhone/iPod on Windows XP/Vista/7
Windows
XP
Windows
Vista
Windows
7
Windows XP
Please note: Windows XP needs an update from Microsoft to fix a known WebDAV issues. Click here to download and install the update
1) Open the app on your iPad/iPhone/iPod and click on "Settings". Now locate the "Network File Sharing" setting and tap on it.


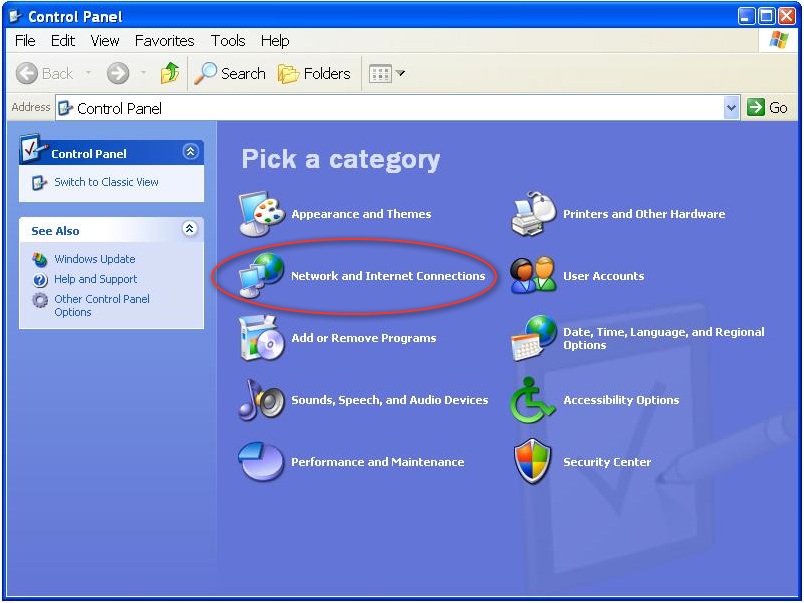
3) Now go to your Windows XP computer and click on "Start" menu and select "Control Panel". Click on "Network and Internet Connections" in Category view or "Network Connections" in Classic view

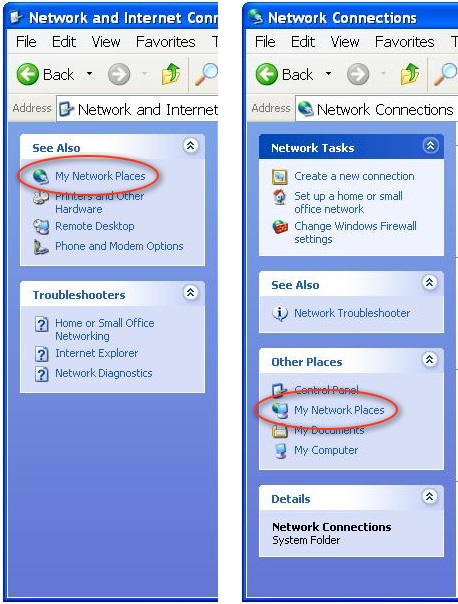
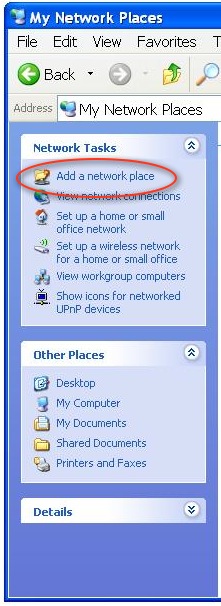
5) In the "My Network Places" screen click on "Add a network place" under "Network Tasks" in the left panel
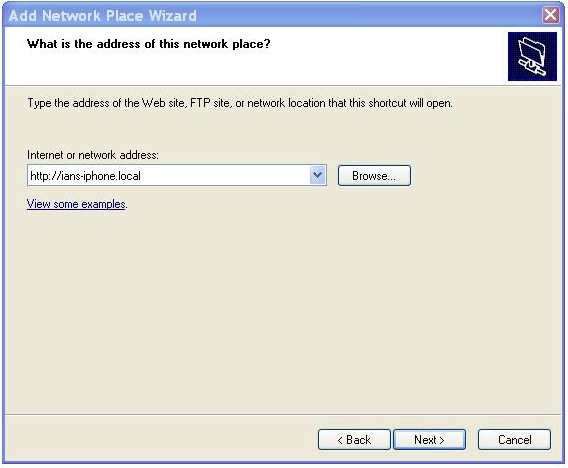
6) Select "Choose another network location" and click next. Now enter the connection address from your iPhone as displayed in "Network Sharing". You can use either your iPhone name (http://my-iphone.local) or the IP address (http://192.168.0.1).
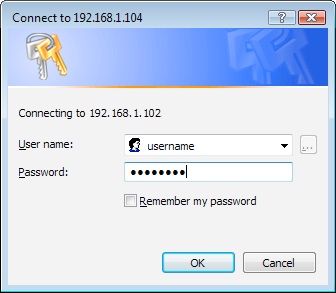
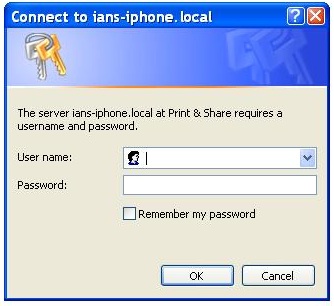
7) If you have activated the username and password in the app, you will be prompted you for it
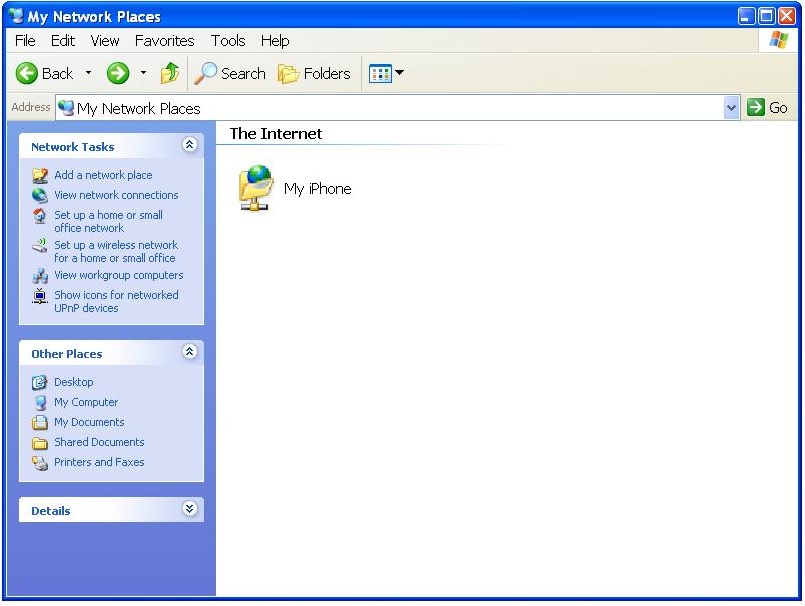
8) Make sure your iPad/iPhone is on and has the "Network Sharing" from the app displayed and click next. Name your connection and click next. Name your connection and click FInish
Windows Vista
Back to top1) Open the app on your iPad/iPhone/iPod and click on "Settings". Now locate the "Network File Sharing" setting and tap on it.
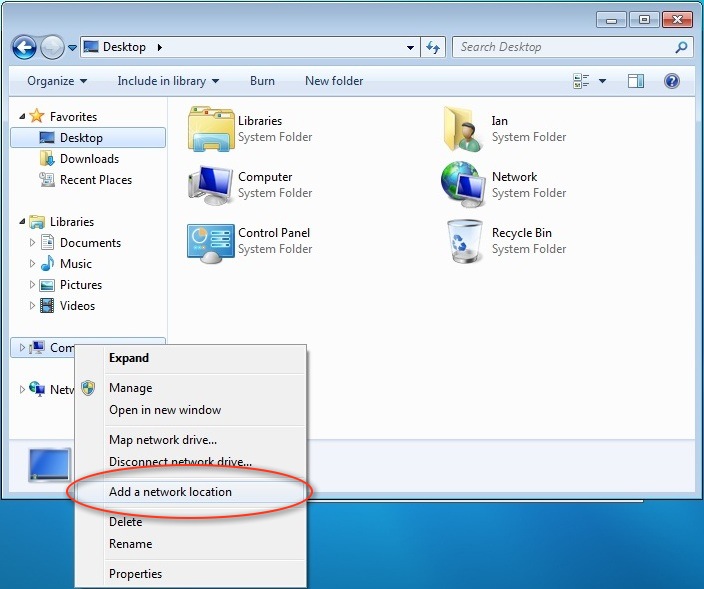
3) Now go to your PC, open an explorer window, right click on "Computer" in the left panel, select "Add a Network Location"

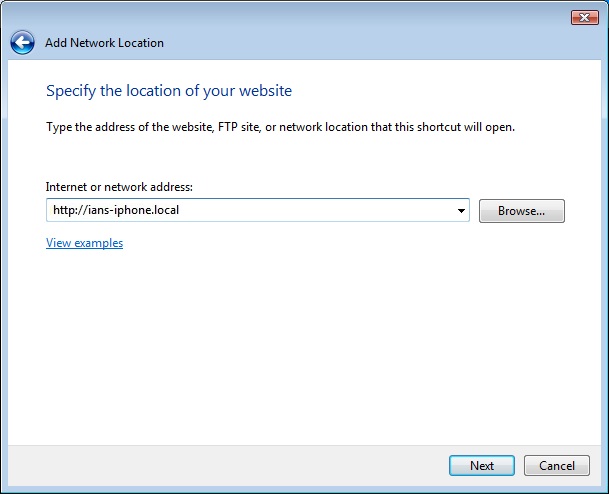
4) A window will pop up with "Add Network Location", click "Next". In the next window, select "Choose a Custom Network Location" and click Next.
5) Now enter the connection address from your iPad/iPhone as displayed in "Network Sharing". You can use either your iPad/iPhone name (http://my-iphone.local) or the IP address (http://192.168.0.1).
6) If you have activated the
username and password in the app, you will be prompted you
for it

7) Once connected, you will be asked to enter your new network disk name. Leave as the default or enter a name
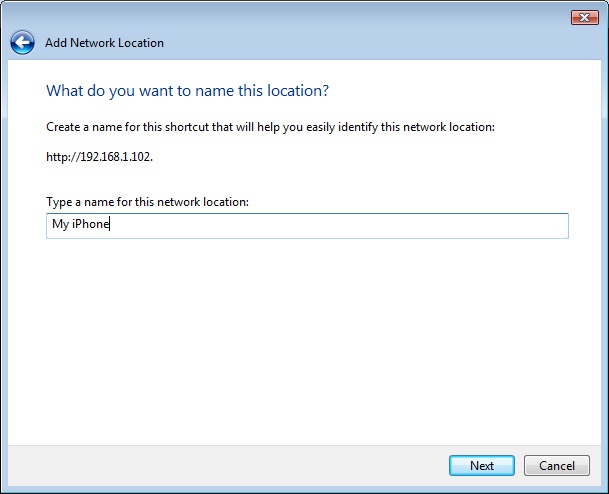
7) Once connected, you will be asked to enter your new network disk name. Leave as the default or enter a name
Windows 7
Back to topOpen the app on your iPad/iPhone/iPod and click on "Settings". Now locate the "Network File Sharing" setting and tap on it.
3) Now go to your PC, open an explorer window, right click on "Computer" in the left panel, select "Add a Network Location"
4) A window will pop up with "Add Network Location", click "Next". In the next window, select "Choose a Custom Network Location" and click Next.
5) Now enter the connection address from your iPad/iPhone as displayed in "Network Sharing". You can use either your iPad/iPhone name (http://my-iphone.local) or the IP address (http://192.168.0.1).

6) If you have activated the username and password in the app, you will be prompted you for it